Separate sprite-sheets need to be prepared for each platform you are targetting, as resolution and palette varies according to each system. The tools used for creating sprite-sheets are PISKEL and GIMP (packaged with 8bit-Unity)
Step 1: Master Sprite Sheet
Create a Master Sprite-Sheet that will be used as the reference “look and feel” when converting to the various platforms. Here we take as reference the racing car used in “8bit-slicks”.
![]()
Step 2: Draw Sprite-Sheets in PISKEL
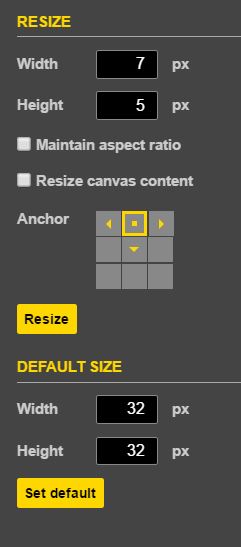
In the second step, we use PISKEL to create sprite-sheets for each platform. First, click the icon RESIZE on the right-hand side and set the width and height as shown in the table at the bottom of this topic.
Except Commodore, the height can be any value you wish, BUT the more lines are used… the slower sprite drawing will become!
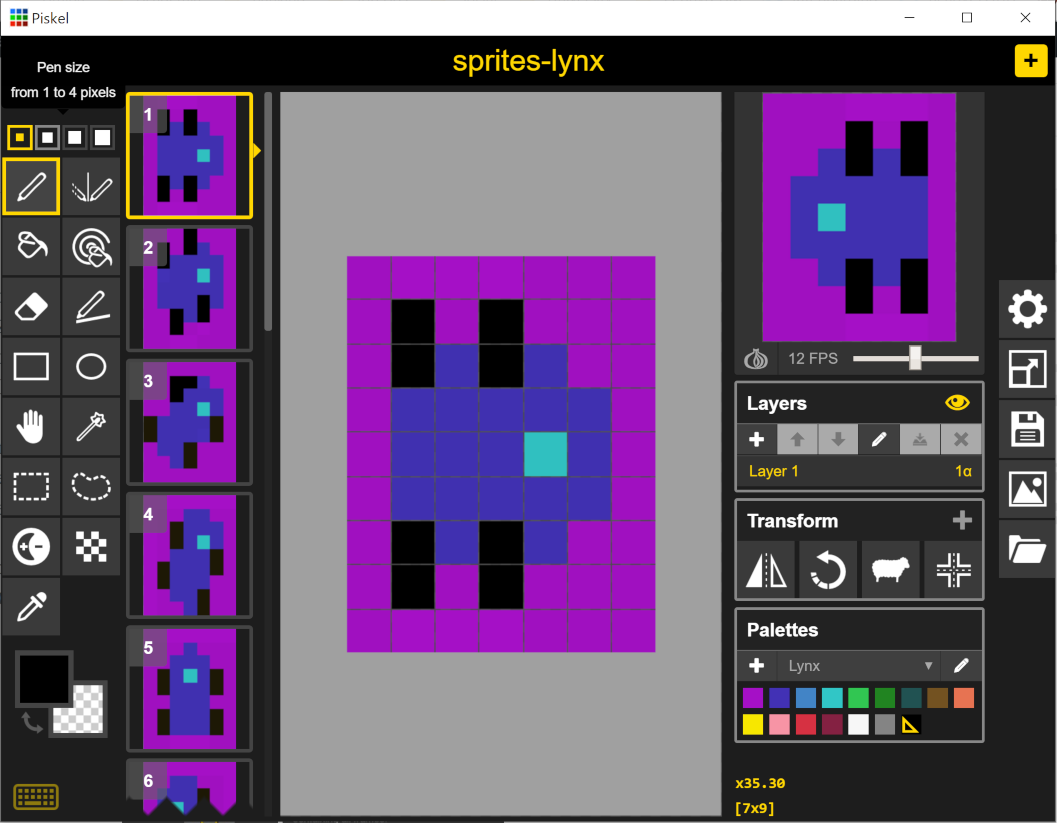
Palettes are provided for each platform. Use one color for the background (this color will be invisible, except for Apple), and 1, 2 or 3 colors to draw sprite (see table below). Once all frames are ready, SAVE as a PISKEL job file (in case you want to re-edit the sprites).
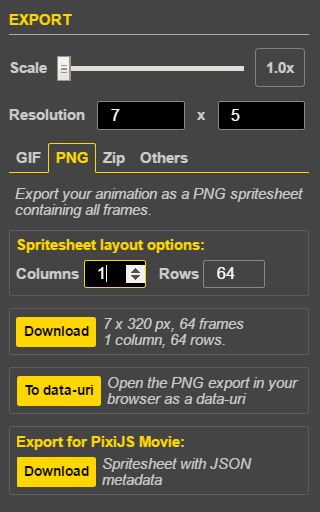
You are now ready to export the sprite-sheet to PNG: Click the EXPORT icon and enter the value 1 in Columns. Next, click Download and save the file to /sprites/ in your project folder.
IMPORTANT NOTES: When locating sprites in-game, coordinates of the central pixel are used as the reference point.
APPLE NOTE: Sprite colors cannot be re-assigned in-game. Therefore, you need to create sprite frames for each color combinations that you wish to use in-game. In the example shown in the table below, there are 4 x 16 frames in the Apple sprite-sheet corresponding to Players 1-4. Furthermore, the background color is not transparent in-game, so make sure to select a color that matches your in-game background (for example: grey for a race track).
ATARI NOTE: Single color sprites use only 1 sprite slot in-game. Two color sprites use 2 sprite slots (there are 10 single color slots; multi-color sprites are drawn by superposing slots).
Step 3: Fix Palette in GIMP
In the final step, open each PNG sprite-sheet in GIMP and re-assign the palette with the menu Image > Mode > Indexed…
- Apple: Use custom palette -> APPLE Palette
- Atari XL/XE: Generate optimum palette -> Maximum number of colors: 2 (single-frame sprites) or 3, 4… (multi-frame sprites)
- C64: Generate optimum palette -> Maximum number of colors: 4
- Lynx: Use custom palette -> LYNX Palette
- Oric: Generate optimum palette -> Maximum number of colors: 2
For Atari/Commodore/Oric, there is one more step: click the tab Colormap in the top-right panel, right-click a color in the palette and select Rearrange Colormap. Now drag and drop colors in the following order: Background > Color 1 > Color 2 > Color 3. Resulting colormaps are shown here for the sprite-sheets in the table below.
| Apple | |
| Atari XL/XE | |
| Commodore | |
| Oric |
Finally, save the modified sprite-sheet with the menu File > Overwrite filename.png
Final Output
| Apple 7x?(5) pixels 16 colors 4×16 frames |
Atari XL/XE 8x?(13) pixels 2 colors 1×16 frames |
Commodore 12×21 pixels 3 colors 1×16 frames |
Oric 12x?(6) pixels 1 color 1×16 frames |
| |
|
|